How to build a freestanding backyard climbing wall
Emma Kowal
April 2020

Figure 1: construction zone on day one
Desperate times call for desperate measures, and these are desperate times for climbers. The gyms are dark and empty, the crags are off-limits. Mountain project rings with cries of “stay home!” and Instagram is choked with cheesy send footy of kitchen counters and tables. I exhausted every topropeable route up the tree in my backyard in the first week. I am so, so sick of hangboarding.
An idea began to percolate as I fell asleep each night of that first week of quarantine. I dreamt of 3/4” plywood and power tools. T-nuts and bolts. A little plastic paradise of my own. Could it really happen? Could I build a bouldering wall in the meagre backyard of my Cambridge apartment, on a grad student budget? The answer is YES: and you can too! For around $350 and one weekend of medium difficulty physical labour, you too can have a reasonably legit backyard climbing wall like this one, which I have dubbed The Lawn Wall (formerly Hot Tub Climb Machine) (fig. 2):

Figure 2: playing around on the new wall
DISCLAIMER: I have literally no qualifications whatsoever to give construction advice. I am just telling you what I did, informed by a combination of googling and pure guesswork, and that my wall has not yet fallen down after about a week of bouldering on it. Listen to me at your own risk!
FOR THIS PROJECT YOU WILL NEED:
Tools (cost: variable. hopefully you have some already)
power drill (very very necessary. not factored into cost since I borrowed my roommate’s but he said it was ~$70)
small bit for boring pilot holes into A-frame beams ($2)
7/16” bit for boring holes for T-nuts ($2)
5/16” hex key for tightening climbing hold bolts - a T-bar like this one is great ($8)
you may, as I did, think that if the bolts and T-nuts are 5/8” then the drill bit and hex bit should also be 5/8. this is not the case. the hole for the T-nuts needs to be bigger. the socket in the bolt head is smaller. I am saving you two extra trips to home depot by telling you now (fig. 4).
a hammer. the kind with the big round head like in donkey kong better than a little metal one.
a sander would help a lot
clamps for holding wood together as you screw it help a lot
a couple saw horses are very handy
tape measure, safety glasses, etc.
A-frame (cost: $125)
4 4'“x4” beams, 12’ in length ($12 each)
1 4”x6” beam, 8’ in length ($10)
Two Eastern Jungle Gym brackets to hold em all together. $75 and these come with hardware
Wall & supports (cost: variable, $100ish).
3/4” ACX or BCX plywood. $30 each. Do NOT go thinner!
how many sheets? depends on the dimensions of your A-frame (see discussion in part 1 below.) with my design I needed 3 4’x8’ sheets of plywood and 2 4’x2’ sheets.
2”x6” beams to buttress the back of the wall. $5ish each. (we actually did 2x4s but I think 2x6s would have been better)
how long? as wide as your wall. we did two 10’ and three 12’. how many? one for every 2 feet of wall. If you are stacking your plywood sheets side by side have them go horizontally and vice versa, so they reinforce the junctions between sheets
Hardware & misc. (cost: $120)
2”, 2-1/2” and 3” decking screws (like $7 each for a pack of 68)
3/8” socket head bolts (like these), various lengths. as many as you have climbing holds. I paid $24 for a pack of 34
3/8” 4-prong zinc-plated t-nuts (like these). in theory as many as you have climbing holds but probably you will want to set up a grid of holes for setting and will need a bunch of extras for when you knock them out by accident so i would just get a few hundred. I got 250 for $18
sandpaper (cheap. what kind? I don’t know. medium grittiness?)
paintbrushes, paint (for fun and protection. what kind? we got this one, $25, i don’t think it matters though, just pick one that says “weatherproofing” on it.)
A big tarp to throw over it to protect from rain, $25
Holds (cost: variable)
Can buy new (expensive, maybe sold out right now?)
Can scavenge from friends who are not using them (free but must have friends)
Can carve your own from scrap wood (I have not done this but it seems like it could be cool and cheap!)
Protection (cost: variable)
Mattresses (free if you find them on the street!)
Crash pads (expensive)

Figure 3: initial design schematic

Figure 4: home depot trip #3
STEP 1: A-FRAME
We already had an A-frame in the backyard (fig. 1, 5) which we had assembled as a shelter for our hot tub a year ago. The hot tub, sadly, expired this winter due to a complete lack of maintenance on our part. Luckily, this meant the A-frame was open for business as a climbing wall scaffold. I like this as a scaffold because it is pretty tall, inclined pretty steeply on the inside, (like ~25º - see fig. 9) completely freestanding, and inspires confidence with its sturdy appearance. If it can handle 300 pounds of screaming children on swings I’m sure it can handle one screaming adult catching a dyno. And, by sanding down the edges of the top 4x6” beam, you have a top-out jug!

Figure 5: Scout sanding the edges of the A-frame
One note of caution is that it’s definitely possible to take a nasty swing into the beam behind the wall, especially near the top. It hasn’t happened to us yet but we did have one close call. Watch your head and be smart when setting (i.e. don’t have big moves going into the top corners.)
We ordered the brackets online, got the wood from home depot and assembled this basically following these instructions. Except we had a shorter top beam and longer legs. and we didn’t use anchor stakes. It’s probably fine. You should choose the beam lengths based on the dimensions you want for your climbing wall. Since the legs flare out at the bottom, it will be wider there and narrower at the top. With 10’ legs and an 8’ top beam, the width at the bottom is about 12’, so the total climbing surface area is about 100 sq feet (see fig. 3). And if you sand the edges of the beams, you can use them as decent pinches!
It took a few hours and was helpful to have three people to lift the frame upright at the end. Don’t skip the pilot holes, you don’t want to split the wood.
STEP 2: PREPARE WOOD FOR ITS NEW LIFE OUTSIDE
Once you have a standing A-frame (congratulations!) you are ready to sand and paint all the wood. The rationale here should be obvious, you don’t want splinters and you don’t want your precious wall to succumb to water damage from living out in the open. We will also take this time to drill the holes for the T-nuts.
Sand down all the edges of the plywood sheets and A-frame beams (fig. 5). Don’t worry about sanding the 2”x6” supports as they will be on the back of the wall. Sanded surfaces should be smooth enough that you would feel ok desperately grabbing one as you flail around on your project and not worry about wooden shards shredding your calluses. Pay special attention to the top beam because it’s fun to have this as a top-out jug, and the more you sand it the more fun it will be to grab. We had to do this on a ladder and used a harness and slings around the top beam to go in direct for safety. If you are building your A-frame from scratch you could also sand and paint the beams before you put it together.
Once everything is sanded to your liking, it’s time to drill (fig. 6). I used a tape measure to draw a grid of holes 8” apart on each plywood sheet with a sharpie. You can make it a straight up grid or, like I did, offset each other row by 4” so it makes a pleasantly diamond-y shape. You could do more or fewer holes, it’s not really important, the super important thing is when drilling (with the 7/16” bit!) to drill STRAIGHT DOWN THROUGH the wood and not at an angle AT ALL! Also, run the bit in and out a few times to clean up splitery wood around the edges. Being meticulous about these two things now will make your life much easier later when you are adding the holds.

Figure 6: drill baby drill. Notice that we stacked the 3 sheets so that we could drill through all 3 at once and only had to draw the holes on one! I grabbed this idea from another DIY home wall post here
Once the holes have been drilled into each sheet of plywood, go ahead and paint (fig. 7). We covered all the wood (including support beams) in a thin layer. Make sure you have enough paint. Remember you need to do the backs of the boards too! We bought a big bucket that said it would cover 250 sq feet and just barely had enough. Pro tip: mix well. We did not and some areas of the wall are a different colour than others.
I probably should have said this before but start this on a day when it is not predicted to rain for 48 hours since you need to leave the wood for 24 hours to let the paint dry.

Figure 7: painting time
STEP 4: ASSEMBLY
The next morning your wood will be dry and ready to ascend to its glorious ultimate purpose as your climbing wall.
The first thing to do is hammer in the T-nuts (fig. 8). This is the part that will make your neighbours yell at you. Get as many friends as you have hammers to help so it can be over as fast as possible. Pick the side of each plywood sheet that you like better and want to be the front of the wall. Flip that side face down. Into each 7/16 hole on the back, wedge a T-nut with the spiky bits pointing down into the wood. Make sure it is straight. Hammer it in until it’s flat. Really make sure it’s flat and in there or it’ll be super annoying forever.
The next part is the trickiest. The basic idea is that you want to lean the plywood sheets against the outside of the A-frame (with the side you want to climb on facing in, creating a ~25º angle with the beam dimensions we used - see fig. 9) and screw them directly into the A-frame with the 3” decking screws. You also want the 2”x4” or 2”x6” beams on the back to align the plywood and provide support, especially for any sheets that are not directly contacting the A-frame. See fig. 9 again for an illustration of the angle of overhang and the position of the beams supporting the back.

Figure 8: my cat watching me slave away, making horrible noise, for reasons inscrutable to her

Figure 9: side view of the completed wall. note the angle of overhang, support beams and my neighbour’s sick motorcycle.
The way that you will ultimately achieve this arrangement could vary from ours, but here is what we did:
balanced the small 2’x4’ sheets of plywood on top of one of the 2”x4” beams, short edges touching so they formed one big 2’x8’ sheet, with the 4” edge vertical underneath (as seen in figure 10). carefully drilled a bunch of 2” screws down through the plywood into the beam to attach the whole thing as one big unit.

Figure 10: assemble the top two little sheets of plywood and support beam on the ground like so
got two volunteers to stand on ladders and hold up this unit to the top beam so that the climbing face lay flush against the A-frame beams on each side.
I stood on a separate ladder and bored pilot holes through the plywood into the A-frame beams, then drilled the 3” screws in. Like a ton of them.
I also did this through the top edges of each sheet into the top beam. There’s about a 1” gap between the two so it’s not pretty but I think it’s helping. You could also get longer screws and shove a long bit of wood in the junction and screw through all three bits to make it look nicer.
After that it was a matter of lifting up the big sheets of plywood to lie where we wanted them against the A-frame, and then repeating the process (boring pilot holes & screwing plywood into the A-frame beams from the back, then going around to the front and screwing the support 2”x4”s onto the back of the plywood).
We chose to start with the top piece of plywood since we wanted it right up against the top beam, and wanted a small gap at the ground so the wall wouldn’t get as muddy when it rained etc. (we knew we had 10’ of plywood but the A-frame beams are technically 10’3” with the additional height of the top beam) but I’m not sure this is the best way to do it. It definitely would have been easier to build from the ground up.
Extra advice:
What was extremely useful at this juncture was CLAMPING the wood together to hold it in place before screwing, as can be seen in fig. 12. This could also be accomplished with more volunteers but the clamps were a great way to do it with only 3 people.
Another pro tip is to `bolt a few jugs facing different directions onto each sheet through the T-nuts to make the plywood easier to maneuver without needing to grab the edges (can be seen in fig. 12 as well). For tips on bolting, scroll down to step 5.
We also had a few extra scraps of wood lying around that we used to reinforce the junctions between plywood sheets before doing anything else - can be clearly seen at the top of fig. 13.

Figure 11: Scout getting ready to break in her new shoes on the wall post-construction. note the matching nail polish!
The main tricky part here was to line up the plywood sheets on the outside so that there was a gap of exactly 4’ between them. They are pretty heavy and quite unwieldy even with several folks. We ended up having a slightly larger gap and it was fine, though we did have to remove the side screws into the A-frame beams once or twice to adjust, so be prepared for that.

Figure 12: front of the wall

Figure 13: back of the wall
We attached the support beams by having two people hold each beam one by one flat on the back, so it went straight across all three boards and didn’t block any bolt holes, and a third person guess randomly where the beam was from the front and fire screws in until one hit. Just kidding, we tried to communicate the location by poking sticks through the T-nuts and saying “go like an inch and a half below here” and it was pretty effective. We were especially diligent about putting many screws in the middle board since it was not screwed directly into the A-frame anywhere so it would be held up entirely by the back beams!
Once your wall looks right but before you start route setting, have your heaviest friend repeatedly dyno aggressively to a jug on each board. Inspect all connections to see if any look like they might fail. Add screws if you feel nervous. If the wall passes every test you throw at it, you are basically done! All that remains is to set some gnarly routes!

Figure 14: look how much fun I’m having!
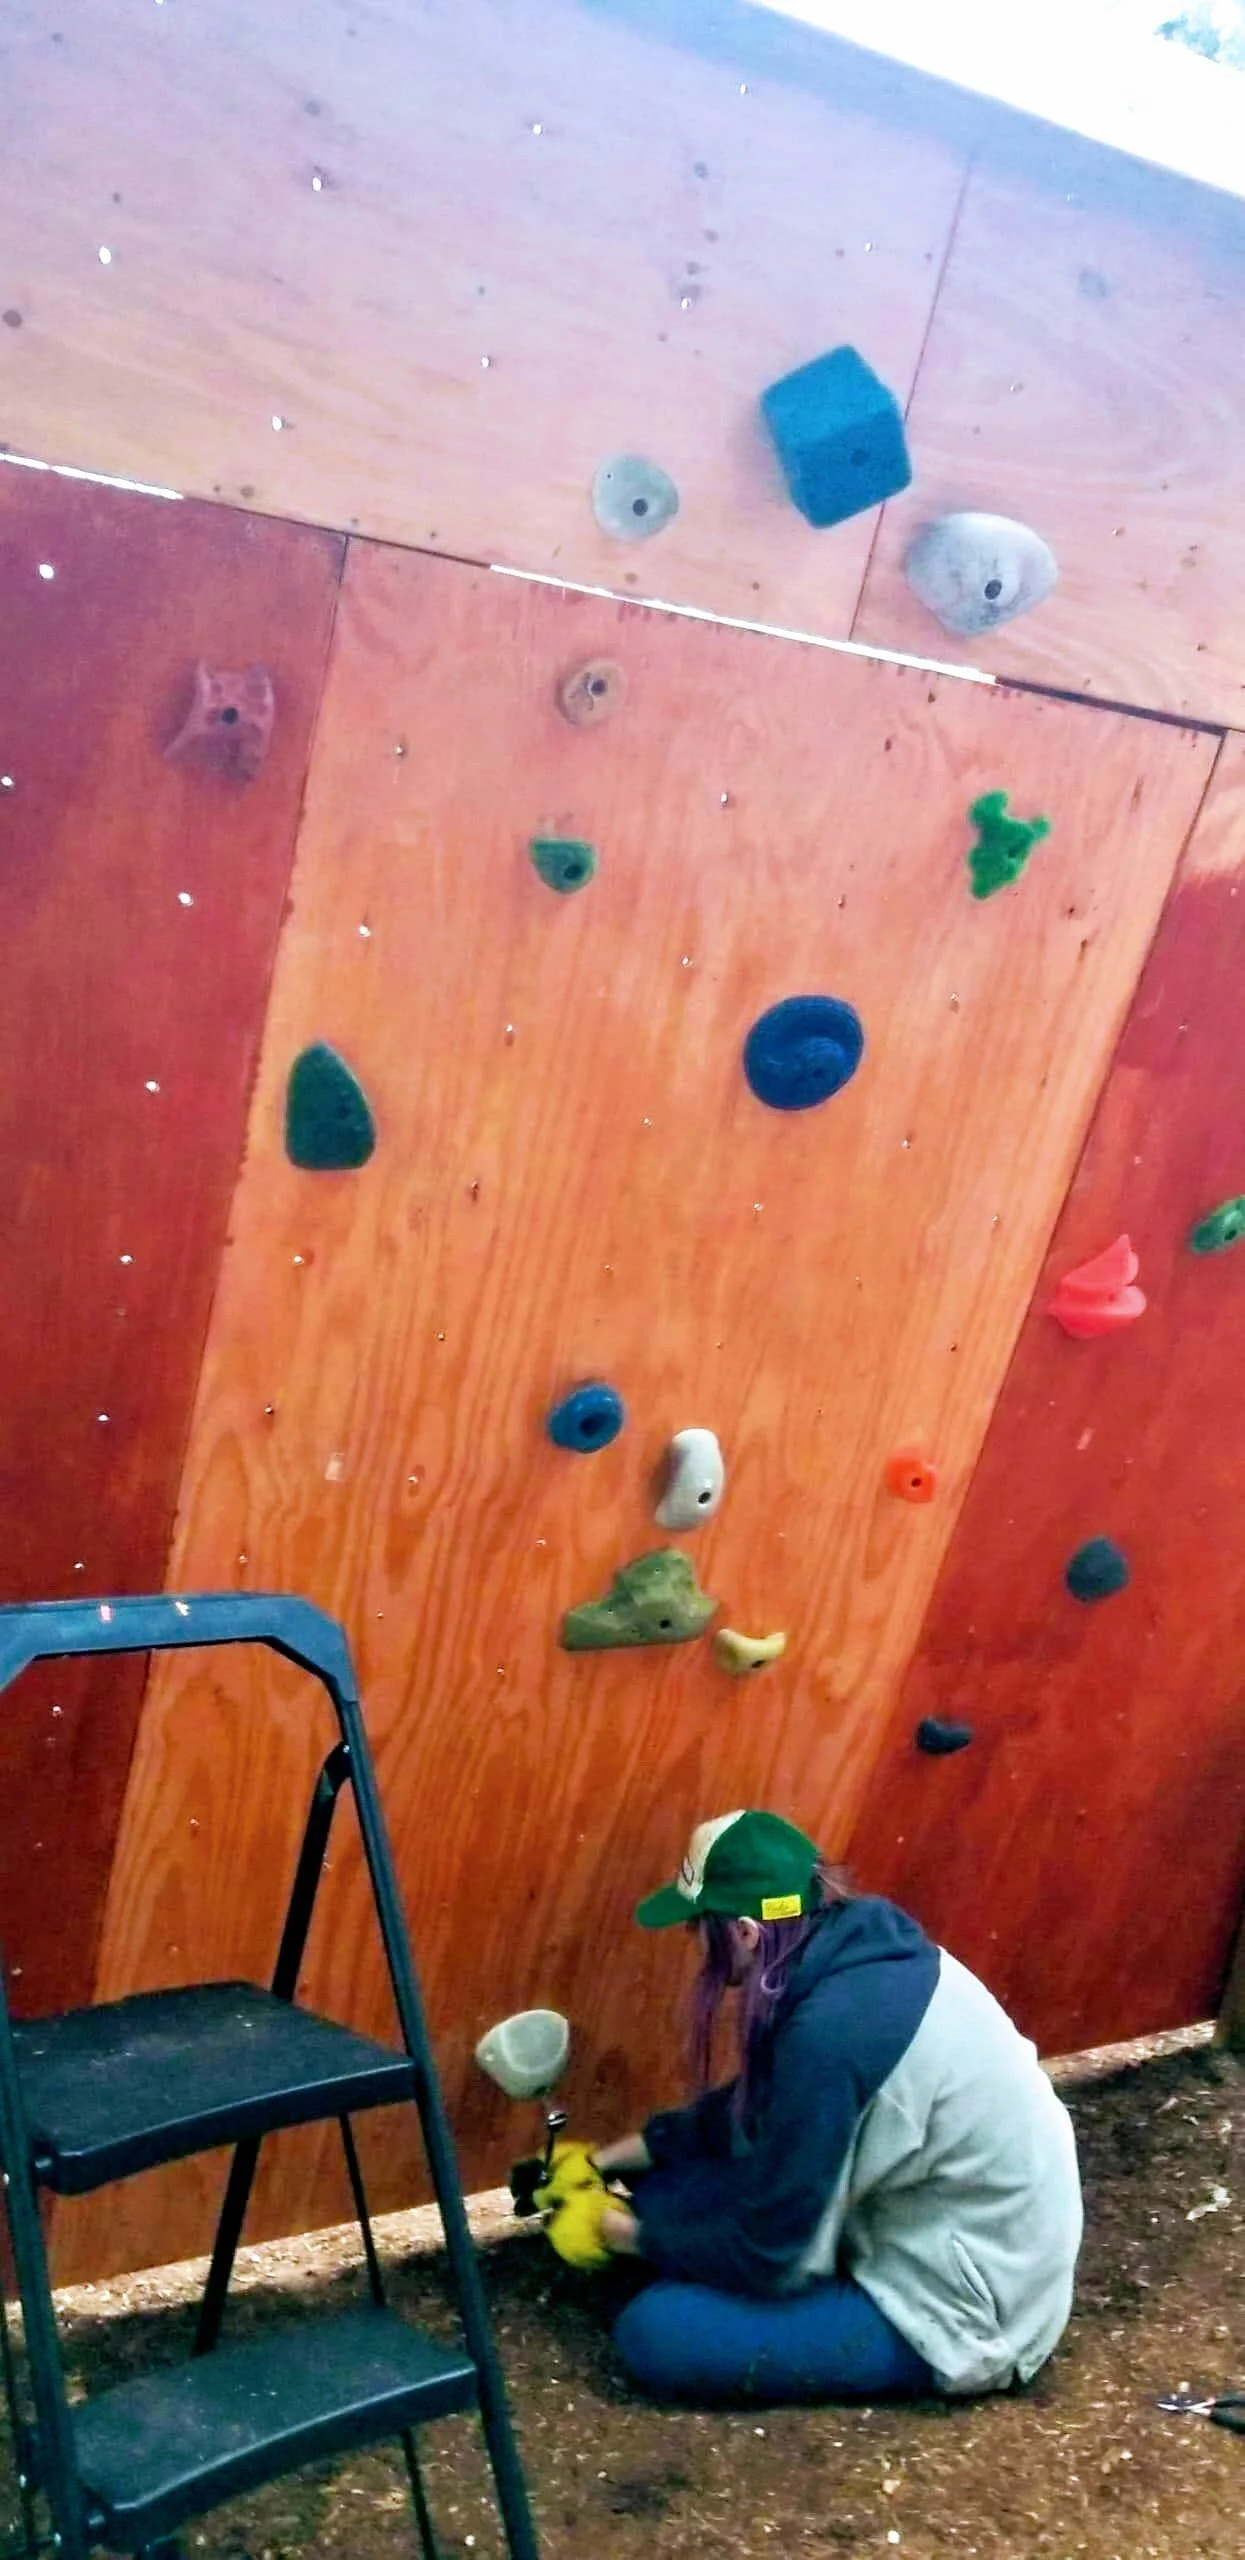
Figure 15: putting this nasty sloper at the bottom because there’s no world in which I could hold it at 25º…
STEP 5: PLACE SOME HOLDS
This part was unexpectedly frustrating, since in principle it is very simple. If you have traditional climbing gym holds that take a single 3/8” bolt, in theory all you have to do is find a long enough bolt (there should be about an inch of bolt sticking out behind the hold), place the hold over the hole with T-nut where you would like it to be, and screw the bolt into the T-nut (with a wrench, T-bar or drill, using a 5/16” hex key). In practice if you start cranking the bolt before it’s properly in the threads of the T-nut (and this will happen way more often than you think, especially if the hole is at all angled or splintery) you’ll end up popping the T-nut out the back and have to have a friend go around with pliers and hold it in place while you unscrew the hold from the front. It’s horrible. If you are thinking “this won’t happen to me because I’m not an idiot I can get a bolt into a T-nut” I promise it will happen to you. You’ll get some friction with the threads of the bolt against the wood and think it’s the nut until it’s too late. It is especially frequent an annoying with a big heavy hold or a nut high off the ground where it is laborious to hold in place.
The one way I found to avoid this happening 95% of the time is to place the edge of the bolt very carefully flush against the edge of the nut and turn it to the left (counter-clockwise) while pressing gently in. When the bolt slips a tiny bit deeper in that’s when you know the threads are lined up and you can go for it. It’s especially effective if you can press your face against the wall and see the bolt but it is also possible to hear and/or feel when this happens. As a bonus, you will feel like a stealthy lock-picker bending matter to your will.

Figure 16: the rain protection strategy. placing a wood pallet under the bottom mattress prevents any water from soaking up from the ground and actually keeps all the mattresses dry

Figure 17: a delighted spectator
STEP 6: PROTECT IT
After you have set the routes of your dreams, don’t forget to scrounge up some crash pads or mattresses to protect yourself and your friends in case of a fall. We also have a large heavy duty tarp that we’ve screwed to the back and we flip it over the top when not in use to shield the whole assembly from rain (fig. 14).
That’s all folks! Have fun and be safe! Feel free to reach out with questions or complaints to ejkk at mit dot edu. Big big thanks & love to everyone who helped out with the material and labour costs of this project, especially José, Scout & Stefan, for the power tools, photography, transport, expertise, extra pairs of hands, and enthusiasm!

Figure 18: The Lawn Wall in all her glory